Knowing how to light a propane torch for soldering may be so simple that an explanation is not even needed. However, most folks do not know the safest and easiest way to light a propane torch. Most definitely it is not by using matches or a lighter. Why folks insist on placing their hands near flammable gas, and a soon-to-be-lit extremely hot flame, is truly a mystery.
Therefore, the 1st tip is to use a striker to safely light a propane torch. A perfectly fine and inexpensive striker costs between $3.00 and $7.00, so cost is not a factor. Of course, if you shop for a striker, fancier ones can cost much more. The full 7-step list of tips about how to light a propane torch and to solder follows, please read on to learn more.
Your 7 step guide on how to light a propane torch
1. Make sure the propane torch is in a well-ventilated area
Before starting, knowing safe practices is essential in knowing how to light a propane torch. First, if you are using a propane tank, make sure it is in a stand so it cannot tip over. Secondly, make sure the propane torch is securely connected to the propane tank, and that the valve is closed. This will prevent any gas from escaping and potentially causing a dangerous situation.
Always make sure your torch and torch heads are clean and free of debris or damage. Specialty brush cleaners are available to clean out torch heads, which can get clogged from time to time.
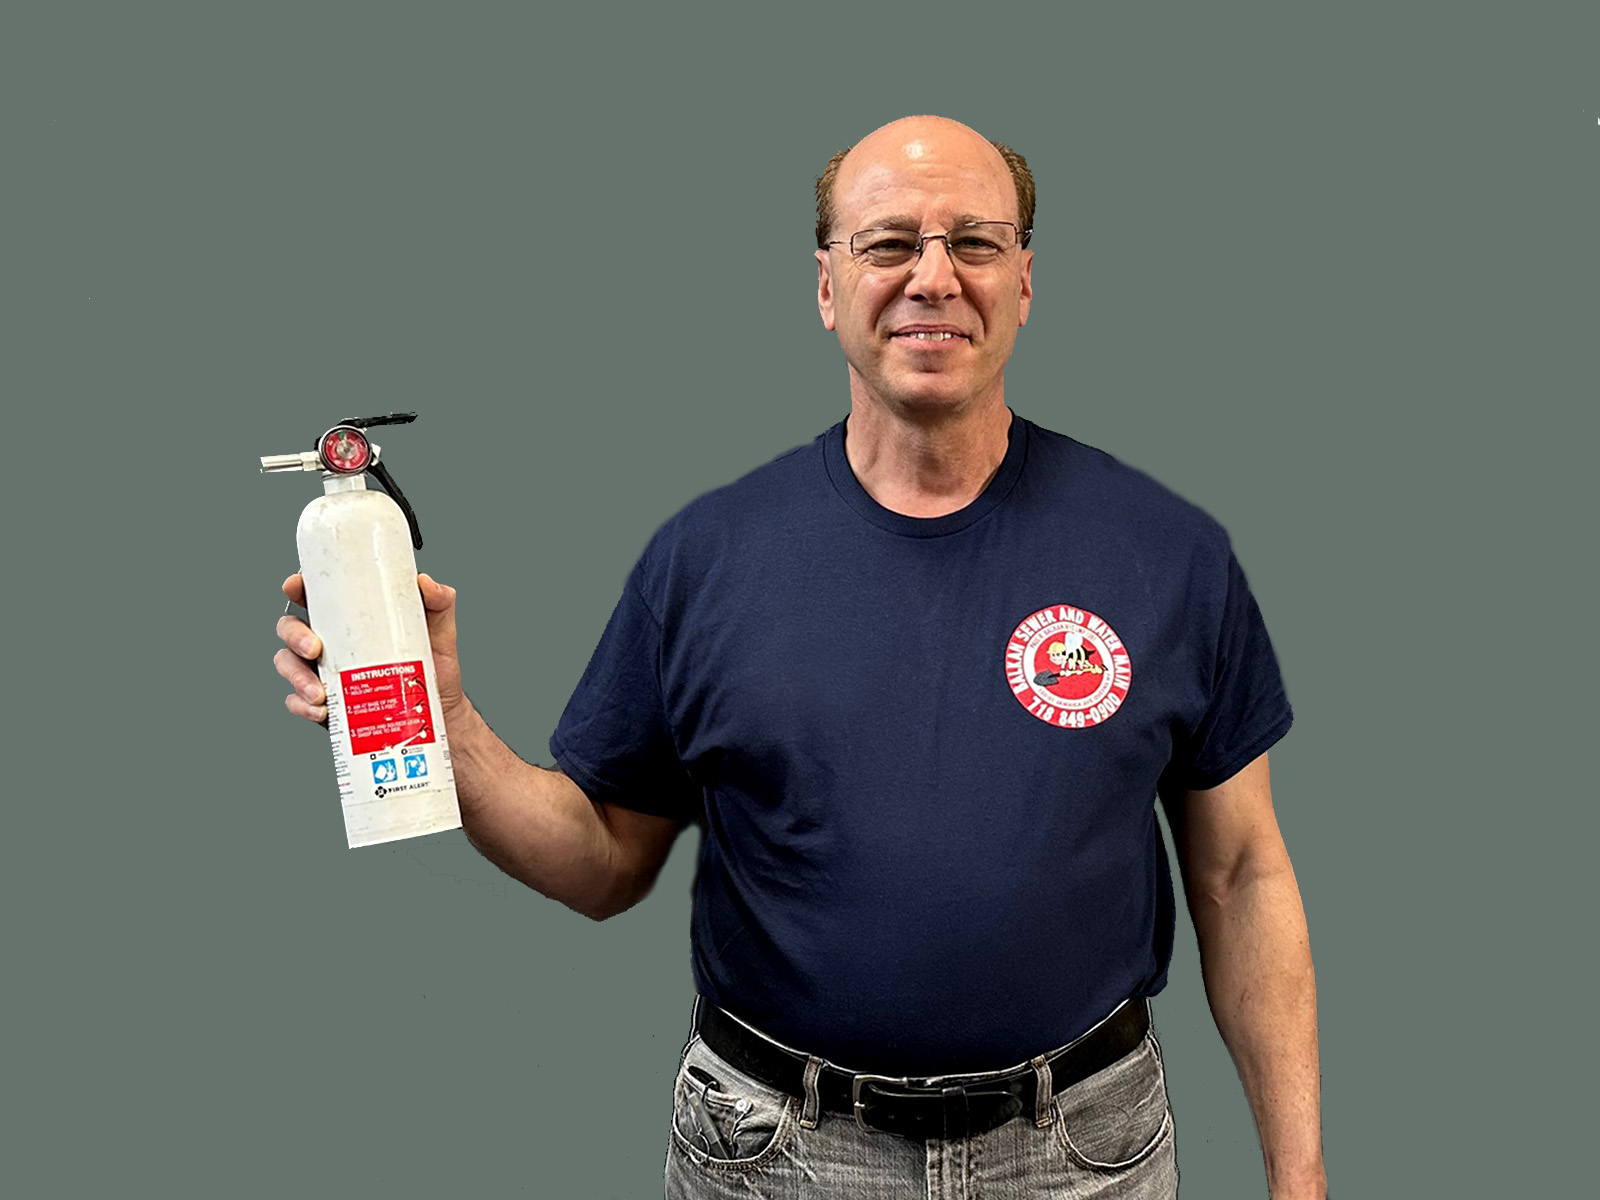
Find a flat and stable surface to work on, with good ventilation. Clear away any flammable materials such as paper, cloth, or chemicals, as these can ignite and cause a fire. Make sure the area around your workspace is free of clutter and that you have enough space to move around. Always have an appropriately rated and charged fire extinguisher present.
2. Connect the propane tank to the torch and open the valve
Many folks ask themselves, why is my propane torch not lighting? The answer frequently is that they’ve forgotten to turn on the gas! To turn on the gas, turn the valve on the propane tank counterclockwise to open it. Make sure the gas is flowing by listening to the sound of the gas escaping from the nozzle. If you don’t hear the gas, check that the valve is fully open and that the tank is not empty. If you are using a separate tank and torch, turn on the gas tank first.
3. Hold the striker in one hand and the torch in the other
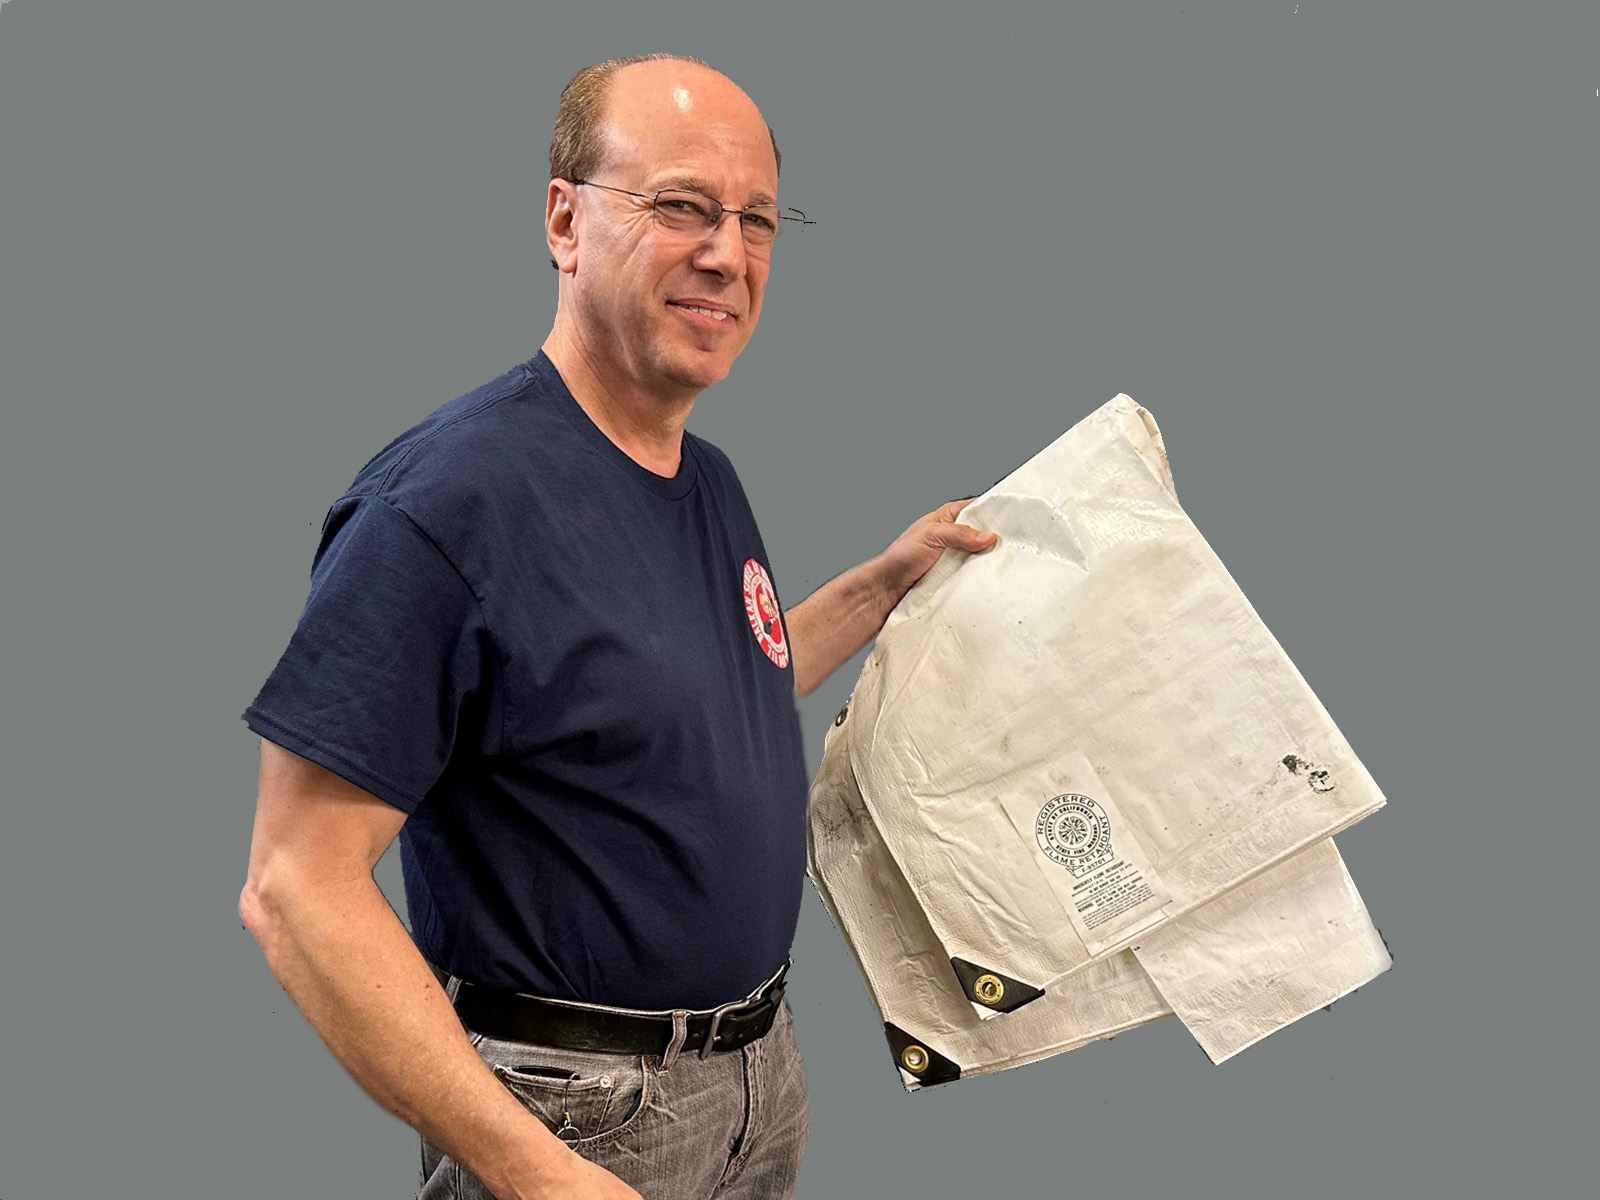
Always hold both the torch and the striker a safe distance away from your body, and any article of clothing. Of course, make sure both are not close to any flammable items. If you use a drop cloth, make sure that it is fire retardant. Likewise, if you’re soldering copper pipes inside a wall or with flammable materials, always use a heat shield.
4. How to hold and use the striker
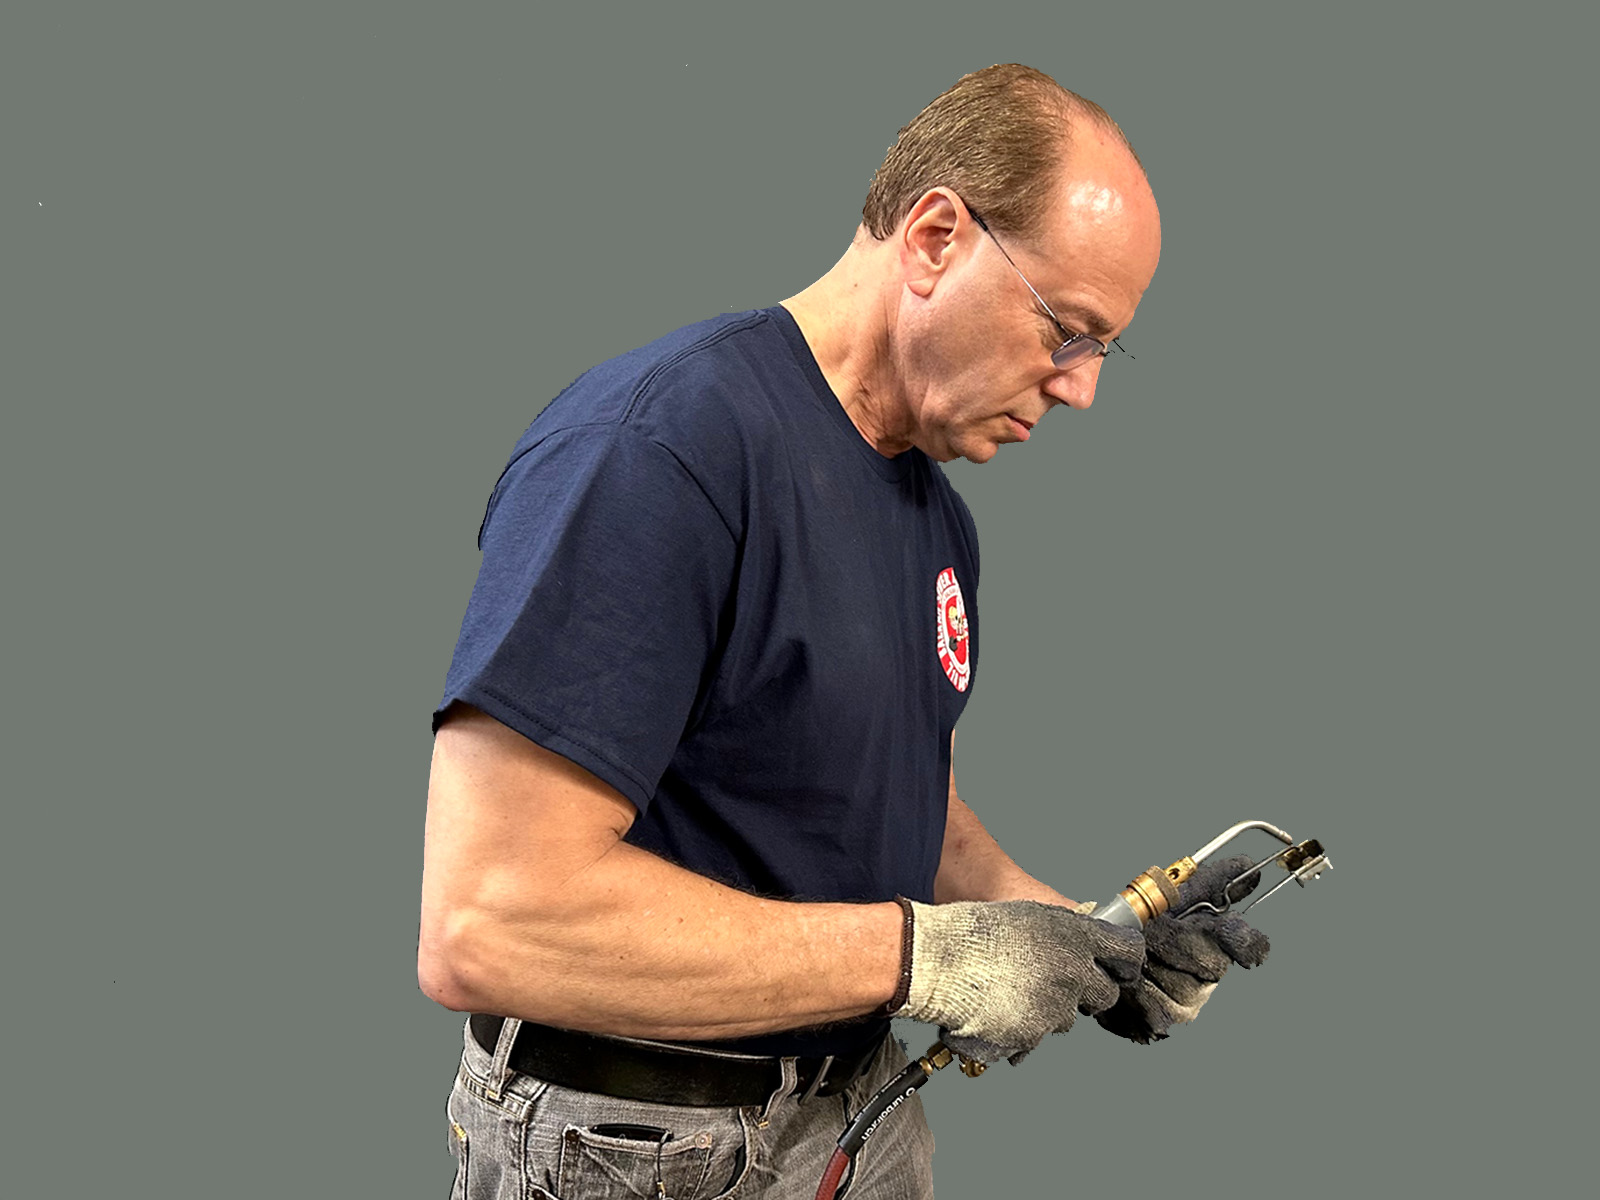
Knowing how to light a propane torch starts with how to properly use a striker. Hold the striker with the cup side up, this allows the gas to fill the cup. Always remember that gas is heavier than air. Place the striker against the spark wheel, so it is making contact. Press down firmly to create a spark. The gas exiting the torch, combined with the gas inside the striker’s cup will ignite the flame safely and easily.
5. Adjusting the torch to obtain the correct flame
Move the striker away from the spark wheel and adjust the flame to the desired size. Typically you want just enough of a flame that the color of the flame itself is blue. Test the flame by holding it against a piece of scrap metal, or your first joint to be soldered. Remember, if the flame is too cold, you can always make it hotter. However, if the flame is too hot, you’ll burn your copper and fittings.
Adjust the torch for the proper Blue Flame
Many first-time users wonder, how do you set the flame on a propane torch? The simple answer it to use the valve on the torch itself to adjust the size of the flame until it is the right size for your soldering job. As stated, the flame should be blue and stable, with a well-defined inner cone. A small flame is ideal for precision soldering jobs, while a larger torch head and flame are better suited for larger workpieces or higher temperatures.
6. Begin the soldering process
When the flame is adjusted correctly, you are ready to begin soldering. Hold the torch in your other hand, with the nozzle pointed away from you. Position the flame tip on an angle toward the area you will be applying the solder. This could be a joint or a specific spot that needs heating to a certain temperature. Remember that solder will flow towards heat.
Once the torch is lit and adjusted, you can start soldering your workpiece. Hold the torch steady and move it around to the area you want to solder. Apply heat until the solder is hot enough to melt, but remove the flame just before soldering itself. Make sure to heat the joint evenly, and avoid overheating the surrounding areas. Patience is key, soldering is not a speed race.
7. Safe practices when your soldering project is complete
Safe practices do not end after you know how to light a propane torch and solder. After you’re done using the torch safe practices must continue. First, turn off the torch itself. Secondly, turn the valve on the propane tank clockwise to close it and stop the flow of gas.
Proper cooling before storage is a key to safe practices
Make sure the torch is completely cooled down before storing it. Avoid touching the torch or nozzle until it has cooled down, as these parts can become very hot during use. Likewise, of course, never touch your hot project. It takes quite a bit of time for a newly soldered copper project to cool down. You might even want to wipe it with a wet cloth.
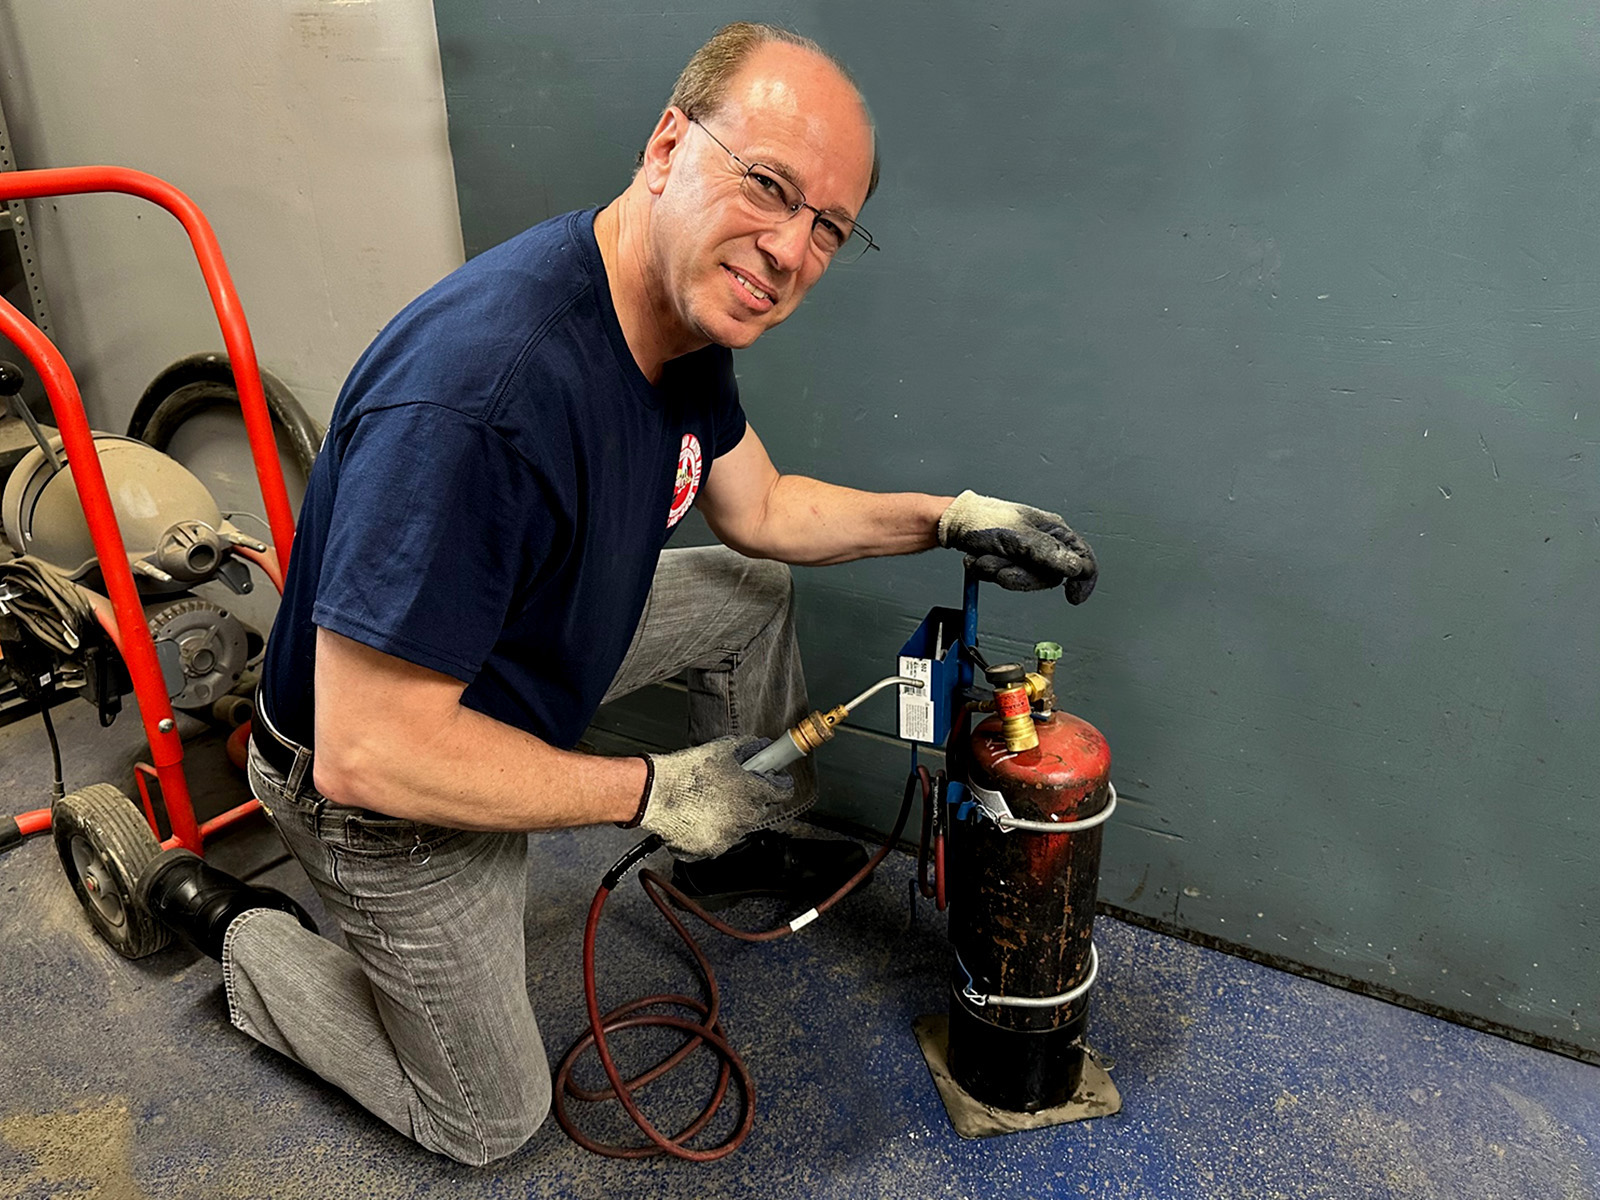
After you’ve made sure to close the valve on the torch and the propane tank, store the tank in a cool and dry place away from heat sources and direct sunlight. It’s also a good idea to inspect the torch periodically and clean it as needed, as this will help ensure it remains in good working condition for future use. Of course, this would also include reading the gas gauge to make sure you have enough gas for your next project.
Safety items list for knowing how to light a propane tank safely
- Work gloves, and welders gloves are preferable.
- Safety glasses. Reasonably priced prescription safety glasses are available if you need them.
- Wear a long-sleeved shirt without any pockets. You never want to get a pocket full of hot solder!
- If you are using a gas tank, have a safety stand for the tank. You never want to let the gas tank tip over.
- A heat shield to protect flammable surfaces from igniting.
- Properly rated and charged fire extinguisher.
- Wear work boots that are at least mid-ankle. You never want to get a shoe full of hot solder.
- Use a striker, not matches or a lighter.
Never forget safe practices when handling flammable gas and hot flames
Safety is an often overlooked issue in many undertakings. Knowing how to light a propane torch properly includes not getting injured, burned, or starting a fire!
How to light a propane torch and solder final comments
In conclusion, knowing how to light a propane torch for soldering by using a striker is a simple process. Lighting a torch correctly can be mastered in a minute. Soldering itself can be mastered with practice and patience over a period of time. By following the above 7 steps, you can safely and effectively use a propane torch to heat your workpiece and achieve precise soldering results.
In conclusion, how to light a propane torch for soldering requires attention to safe practices and some good common sense. Safe practices must then continue through the entire soldering and clean-up process.
In conclusion about 7 steps for optimal results
By following these steps and taking the necessary precautions, you can achieve optimal results and complete your soldering tasks with confidence. Whether you’re a beginner or an experienced plumber or metalworker, mastering the art of soldering with a propane torch is an essential skill. These skills can help you achieve your goals and create beautiful and functional works of art. And yes, perfectly soldered plumbing projects can look like works of art! If you liked this piece about how to light a propane torch, visit the Balkan Youtube Plumbing School to see more informative videos.
