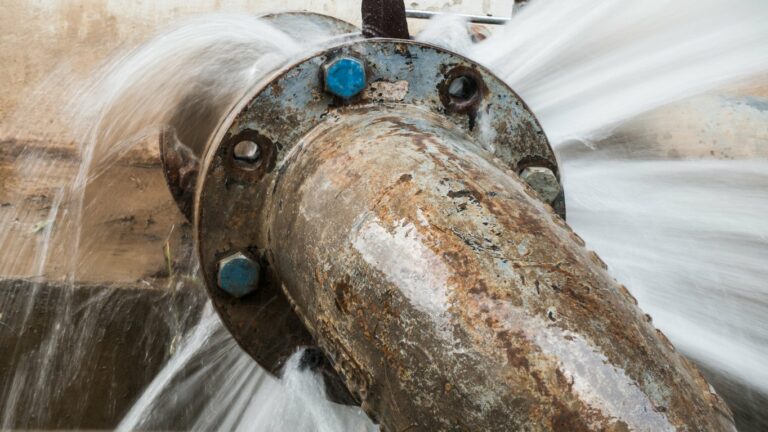
If you’ve ever experienced a leak on your waterline, you know how frustrating it can be. Water leaking from pipes in your home or outside your home is a costly problem to repair. On average, homeowners in the U.S. spend around $3,000.00 on damage from water leaks, as water leaks lead to issues like flooding if left unchecked. Fortunately, solutions are available to help you take control of the situation quickly, and get the job done quickly and efficiently. One such quick solution is to use a copper pipe clamp for a leak on a water line.
Of course, in many cases, most pipe clamps should be considered a temporary repair. However, before you head to the store or start searching online for these products, it’s essential to understand what they are and how they work. Pipe clamps vary in integrity, design, and of course price range.
That’s why we’ve put together this guide to copper pipe clamps for leaks on water lines to enable you to make an informed decision about which type of copper pipe clamp is best for your plumbing situation, as well as some tips on how to install them correctly and what to do after.
What are Copper Pipe Clamps?
Copper pipe clamps are a common component in most plumbing systems. Although they typically hold pipes in place and prevent them from moving, a pipe clamp can fix water line leaks temporarily or in an emergency.
Most pipe clamps used on water lines comprise an encircling band and a tightening cap; known as “all-around clamps”. The encircling band goes around the leaking pipe while the latter holds it in place.
The 5 Types of Copper Pipe Clamps
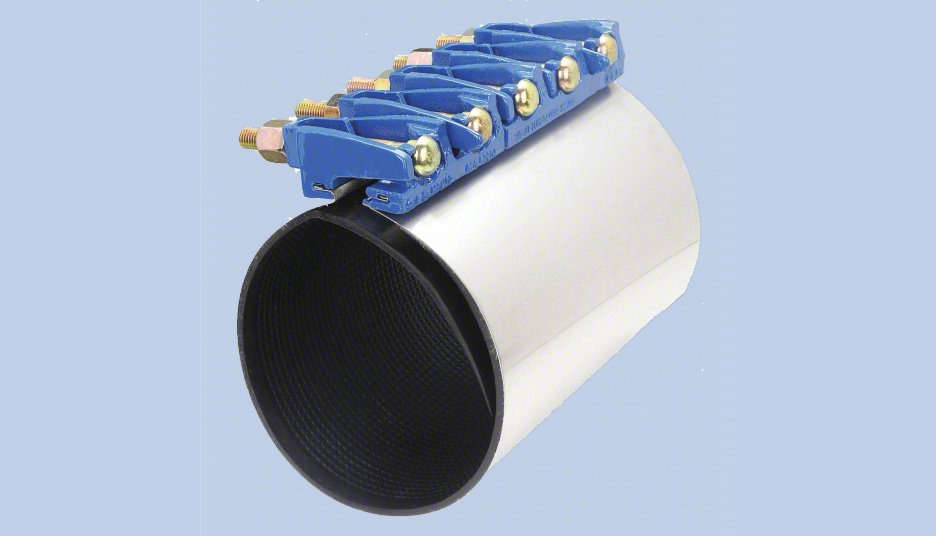
- Repair clamps. These are designed specifically for repairing leaks in copper pipes. They consist of a metal band that wraps around the damaged area of the pipe and is tightened with a bolt or screw to compress the interior rubber gasket, creating a seal around the leak. These types of repair clamps are easy to install, and effective in most cases.
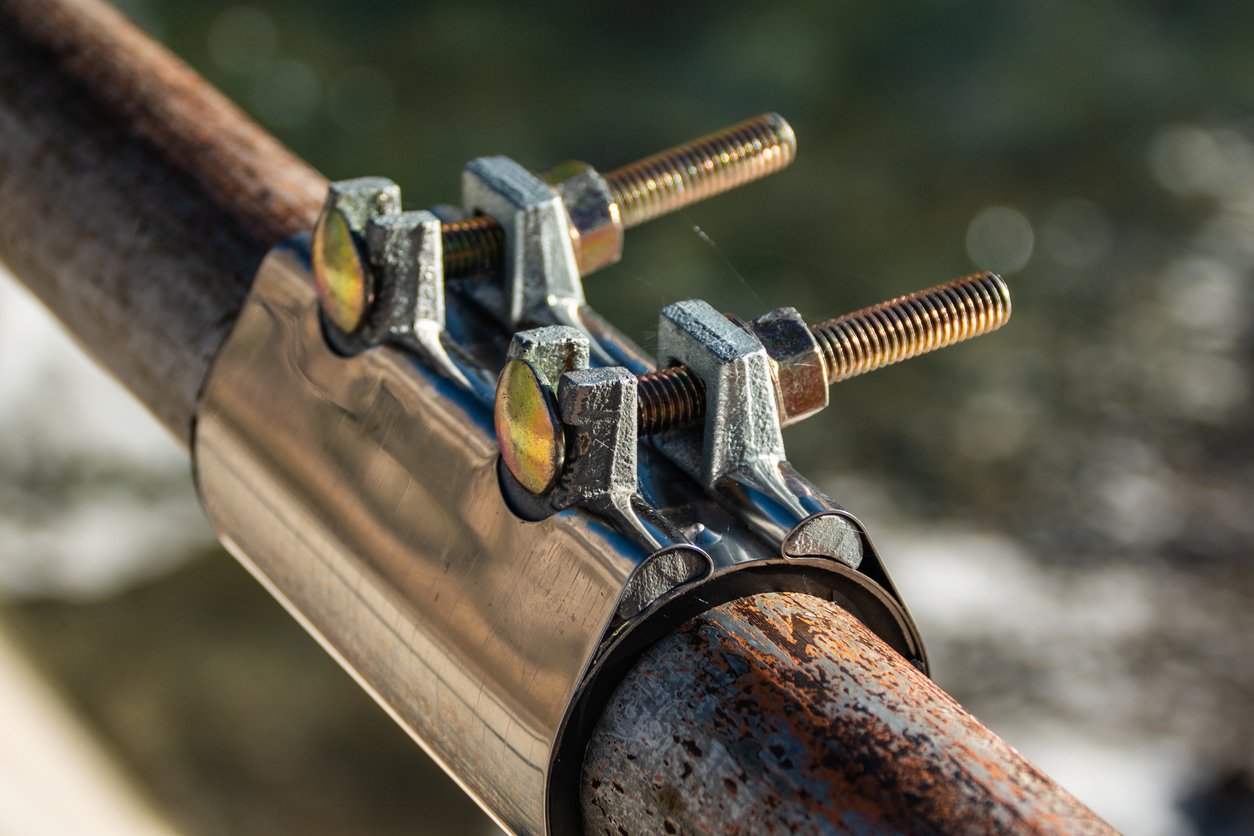
- Split pipe clamp. Split clamps are similar to repair clamps but have a split in the metal band that allows them to be installed around the pipe without having to slide them over the end of the pipe. They are ideal for retrofit applications where the pipe is already installed or located in a tight space.
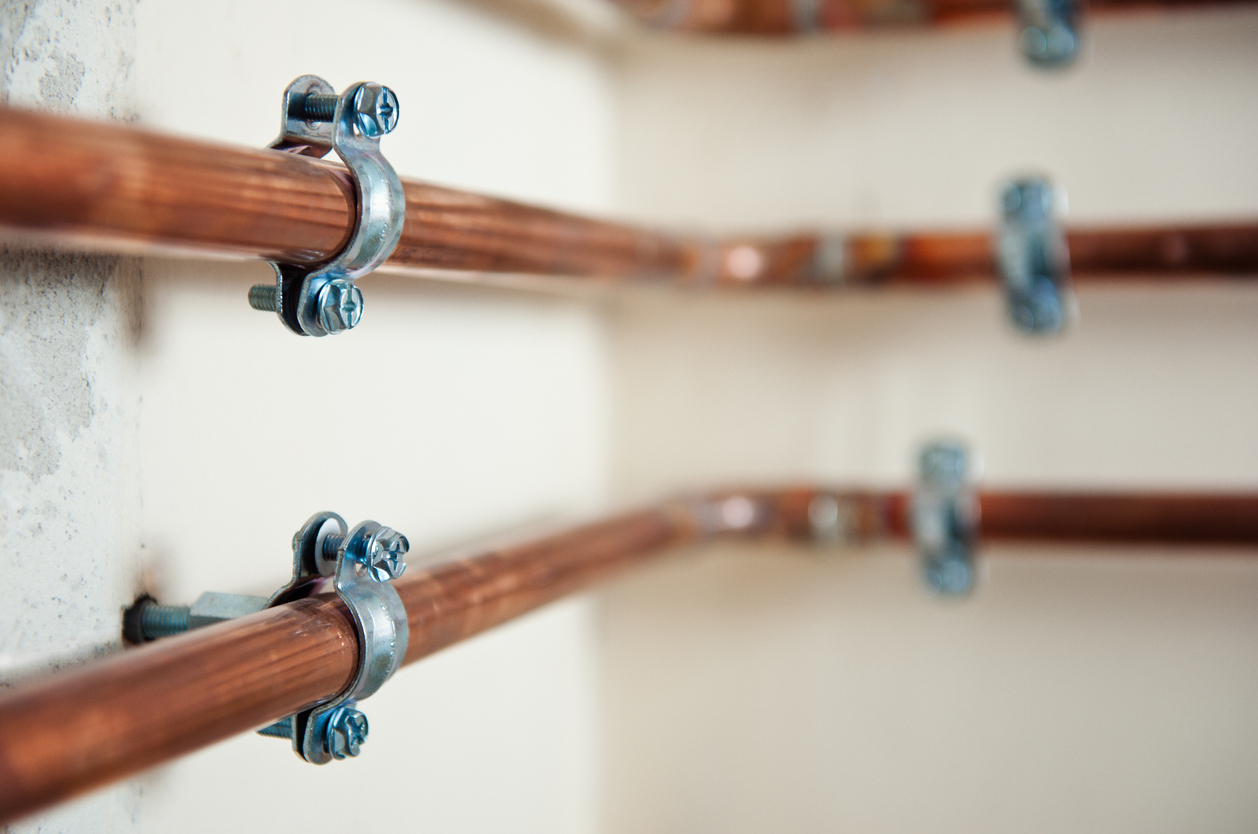
- Saddle clamps.Saddle clamps repair leaks in copper pipes in hard-to-reach areas, such as behind walls or ceilings. They consist of a metal plate mounted over the pipe’s damaged area and secured with screws or bolts.
- Compression clamps. Compression clamps consist of two metal plates secured together with bolts or screws. This helps compress a rubber gasket to create a seal around the damaged area of the pipe.
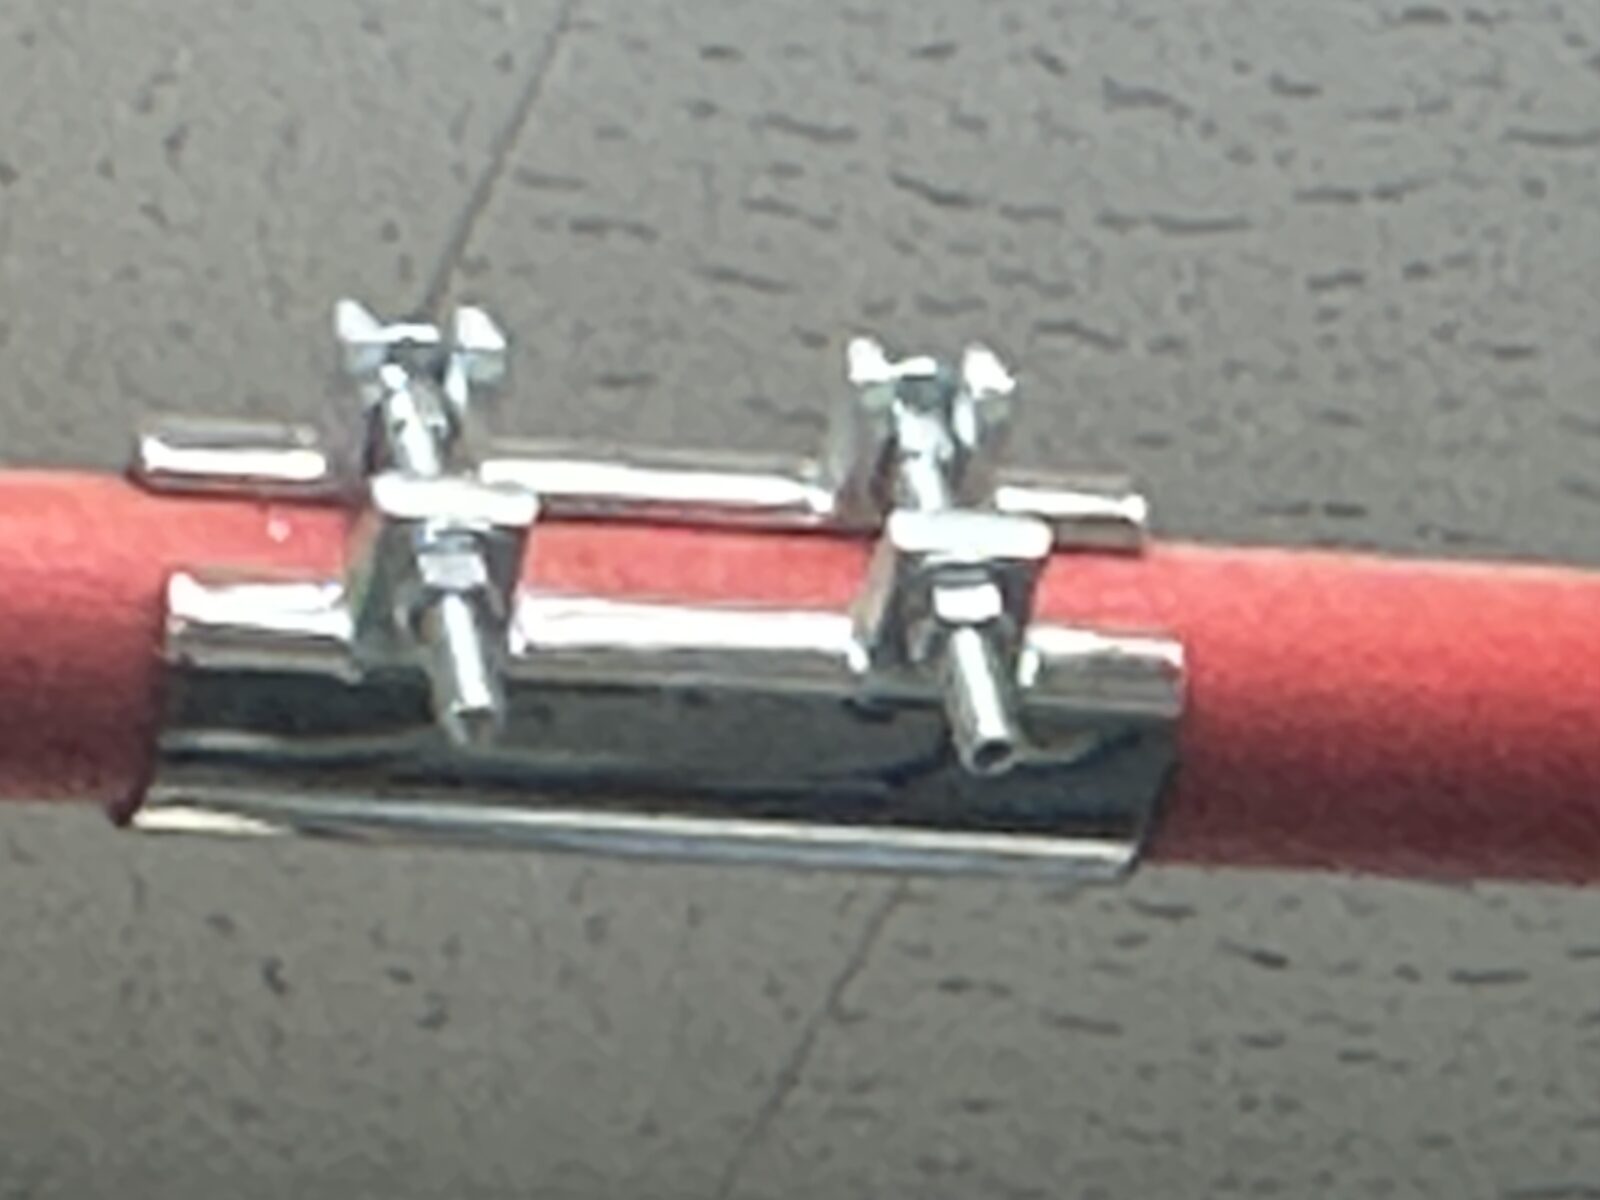
- Pinhole leak clamps. These clamps help fix pinhole leaks in copper pipes. They consist of a metal sleeve with a rubber gasket tightened around the pipe using a screw or bolt. In some cases, one or two automotive repair clamps and a small piece of rubber gasket material can be used. The only tools you would need would be a screwdriver to tighten the clamp and a scissor to cut the gasket material.
7 Steps on How to Use Copper Pipe Clamps on Leaky Water Lines
With the right tools, simple instructions, as well as basic skills, you can apply a temporary fix to stop a leaking pipe. Here’s a step-by-step guide on how to use copper pipe clamps in leaky water lines:
Step 1: Turn Off the Water Supply
Before beginning any repair work, turn off the water supply to the affected area. This can be done by turning off the main water supply valve or shutting off the valve that controls flow to the affected area. In some cases (though not advisable) a repair clamp can be slid over an active leak.
Step 2: Find the Leak
Once you have turned off the water supply, locate the leak in the copper pipe. Inspect the affected area for wet spots or visible damage to the pipe. Make sure that the damage on the line doe snot exceed to capabilities of a pipe repair clamp.
Step 3: Prepare the Area
Once the leak is located, use sandpaper, a wire brush, or steel wool to clean the damaged area of the pipe. This ensures that the clamp makes a good seal around the pipe.
Step 4: Choose the Appropriate Clamp for the Copper Pipe
Select the ideal clamp for the specific repair application. Make sure that the clamp is the correct size for the diameter of the pipe and is designed for the type of leak you are repairing.
Step 5: Install the Clamp
Depending on the type you’re using, place the clamp over the damaged area of the pipe and tighten it using a bolt or screw. Follow the manufacturer’s instructions for tightening the clamp to guarantee a secure seal.
Step 6: Turn On the Water Supply
After securely placing the clamp, turn the water supply back on and check for any issues. Always remember to open the closest faucet or plumbing fixture to bleed out any air that entered the pipe during the repair. If the leak persists, it’s best to call a licensed plumber for a more permanent repair.
Step 7: Monitor the Repair
Keep an eye on the repair over the next few days to ensure that the clamp is holding and that there are no new leaks. Call a licensed plumber to make further repairs if you notice any problems.
Factors to Consider When Choosing a Copper Pipe Clamp
Consider these factors when selecting a copper pipe clamp for a water line leak:
- Type of leak: Determine the type of leak you are dealing with, whether it is a pinhole leak, a crack, a circular break, or a burst pipe. Different types of clamps have specific uses for different types of leaks.
- Size of the pipe: Copper pipe clamps come in a range of sizes to fit various pipe diameters. Pick a clamp that is the correct size for the pipe to ensure a secure fit and proper seal. Choosing a clamp that is too small or too large for the pipe can result in an ineffective repair. Read this helpful article about knowing the size of a pipe.
- Clamp style: There are different styles of clamps designed for copper pipes, including repair clamps, compression couplings, pinhole leak repair clamps, and split pipe repair clamps. Choose the clamp style best suited for the type of leak and the location of the damaged pipe.
- Ease of installation: Choose a clamp that is easy to install and comes with clear instructions. Some models require special tools or techniques for installation, so pick one that is appropriate for your level of skill and experience.
- Budget: Copper pipe clamps vary in price depending on their type, size, and brand. Opt for a clamp that is within your budget but still meets the requirements for your repair job.
- Brand and quality: It is important to choose a high-quality clamp from a reputable brand to ensure it will provide a reliable repair solution.
- Expertise: Consider your level of expertise in plumbing and repair work. If you are not confident in your ability to conduct the repair yourself, consult a licensed plumber.
Let Team Balkan Help!
Once you’ve successfully alleviated a stressful water line leak, it’s best to call a professional for a more permanent solution. Balkan Sewer and Water Main is NYC’s largest and most trusted service for all types of sewer and water main needs.
Our team of highly skilled professionals assesses the damage, reviews the best maintenance for your pipes, and ensures the problem won’t happen again anytime soon. Contact Balkan for an instant quote today!
